Home / Techniques
13 acrylic techniques worth learning
A practical technique map: what each method does, what you need and what to try next.
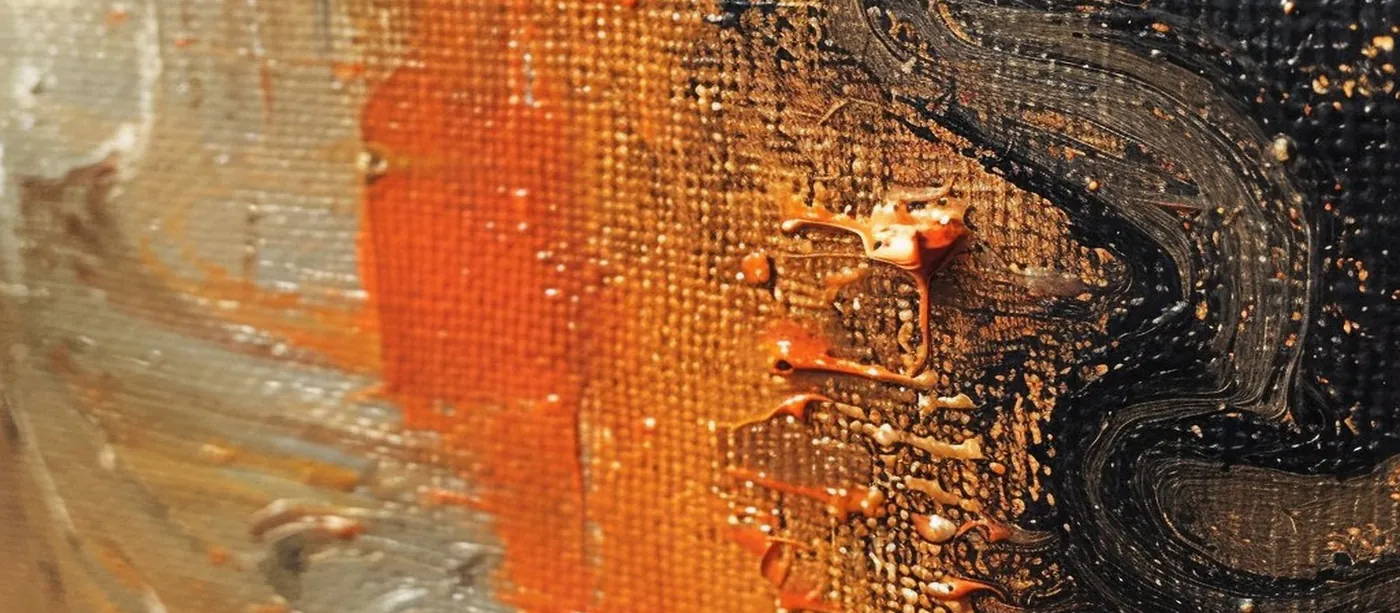
Build a vocabulary of marks
Acrylic can move from thin, transparent colour to heavy physical texture. Instead of trying to master everything at once, learn techniques as individual tools and then combine them.
| Technique | Best for | Try next |
|---|---|---|
| Glazing | Luminous transparent colour shifts | Glazing guide |
| Dry brush | Broken texture and atmospheric edges | Dry brush guide |
| Palette knife | Impasto, scraping and expressive edges | Palette knife guide |
| Underpainting | Value, temperature and compositional structure | Underpainting guide |
| Wash | Fast transparent foundations | Use on absorbent, prepared surfaces |
| Scumbling | Soft broken colour over a dry layer | Try a lighter opaque colour over a darker ground |
| Wet-on-wet | Soft transitions and blending | Work quickly before acrylic begins to set |
| Stippling | Optical texture and controlled pattern | Vary dot size and density |
| Sgraffito | Drawing back through wet paint | Scratch with a non-sharp tool |
| Masking | Crisp reserved shapes | Remove tape once the layer is stable |
| Splatter | Energy and irregular surface rhythm | Mask areas you need to keep clean |
| Gel texture | Raised grounds and dimensional marks | Let thick layers cure fully |
| Limited palette | Colour harmony and faster decisions | Build a starter palette |
Studio exercise: divide one sheet into twelve small rectangles. Test a different technique in each. Keep it as your personal mark-making reference.
Combine, don't collect
The point is not to accumulate tricks. A convincing surface often comes from two or three methods repeated consistently. Try an underpainting, a glaze and then selective dry-brush marks before adding anything else.