THE PRACTICAL HOME FOR WORKING ARTISTS

Make the work.
Find your voice.
Build a living.

A generous, practical guide to making art from the first tube of paint to the first paid sale — supplies, techniques, pricing, photography, marketing and everything between.
01Learn02Make03Sell
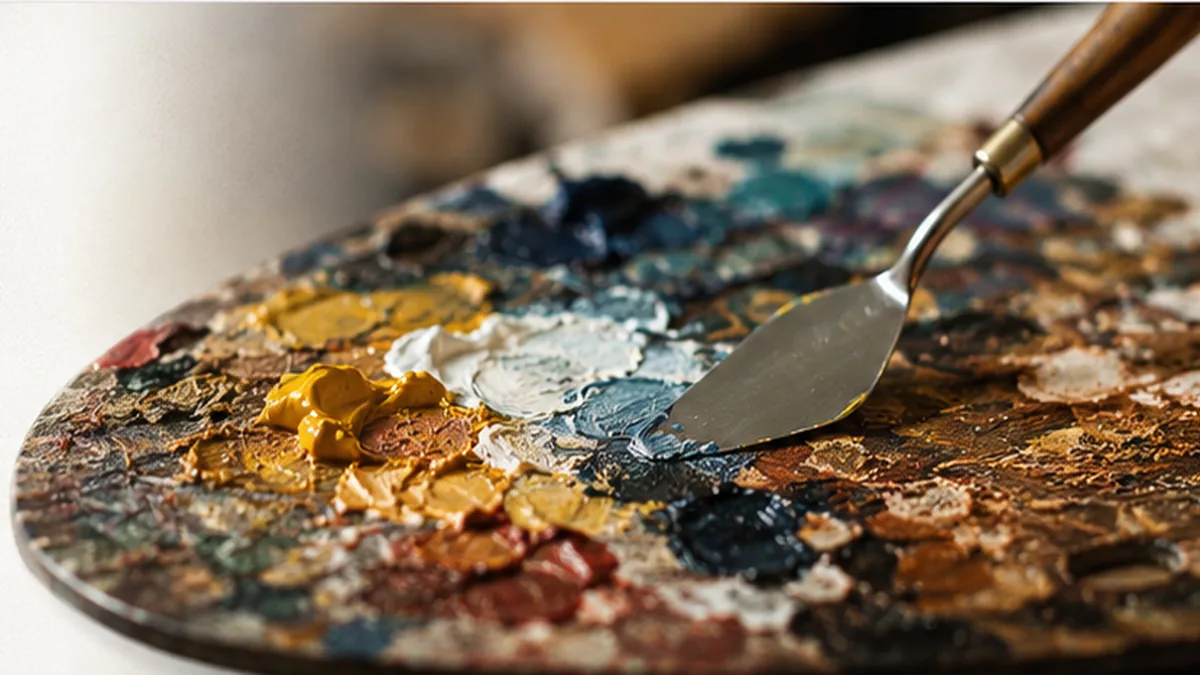
Artist palette with paint and palette knife

Explore the essentials

Browse all guides →

From the studio

Practical guides · no filler
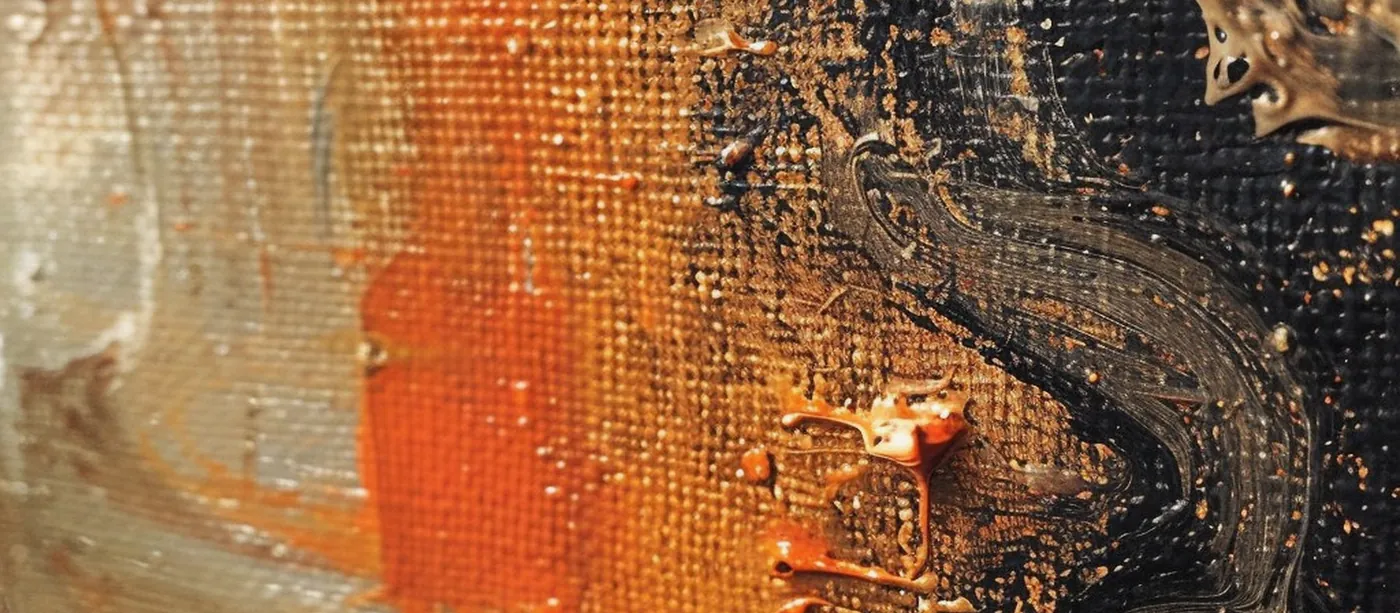
Acrylic painting in progressTechniques

Acrylic painting techniques worth learning first

Build a useful vocabulary of marks, layers and surfaces without buying a studio full of equipment.
Artist brushes in the studioMaterials

A practical guide to artist brushes

Shapes, fibres and the small set that will actually earn its keep.
Photographing artworkBuild a living

Photograph your work beautifully

Simple, repeatable photographs that make paintings easier to see — and easier to sell.

Useful, not decorative: price your next piece.Open the Art Pricing Calculator →
You do not need permission to begin

From a blank surface to a body of work people want to own.

Great art careers rarely begin with a perfect studio, expensive materials or thousands of followers. They begin with curiosity, repetition and enough useful information to keep moving. This site is built to give you that information without the noise.

01
PREP & SUPPLIES

Set yourself up to make.

What to buy, what to skip, how to create a workable studio anywhere, and how to choose materials without wasting money.

Starter kitsSurfacesStudio setupPhotography
Explore prep & supplies →
02
TECHNIQUES

Learn by making, not scrolling.

Clear introductions to painting, drawing, printmaking, digital work, ceramics, fibre and photography — with free tutorials worth your time.

AcrylicWatercolourPrintmakingMixed media
Browse techniques →
03
MARKETING

Turn attention into income.

Price confidently, photograph beautifully, choose the right marketplace, build an audience and make the business side feel less mysterious.

PricingMarketplacesSocialShipping
Build your market →
A BETTER WAY TO START

Buy less. Make more. Show the work.

The internet can make becoming an artist feel like a shopping exercise. It isn't. Start with a small set of reliable materials, learn what they can do, and make enough work to discover what keeps pulling you back.

YOUR FIRST BODY OF WORK

A simple path from idea to first sale.

No hustle mythology. Just a repeatable creative process that gives you something real to build on.

01

Choose one direction

Pick a medium and a subject that you genuinely want to spend time with. Depth beats novelty.

02

Make a small series

Create ten related pieces. Keep the strongest three to five and learn from the rest.

03

Present it beautifully

Good photographs, thoughtful titles and consistent presentation make the work easier to understand and buy.

04

Put it in front of people

Choose one sales channel, price it properly and learn what your audience responds to.

WHEN YOU DON'T KNOW WHAT TO MAKE NEXT
“Change the scale. Change the tool. Limit the palette. Repeat one shape fifty times. Paint the thing you normally crop out.”
02 · Techniques

Learn a medium by making.

Every guide links to genuinely free tutorials — no paywalls — plus a short list of what to buy when you're ready.
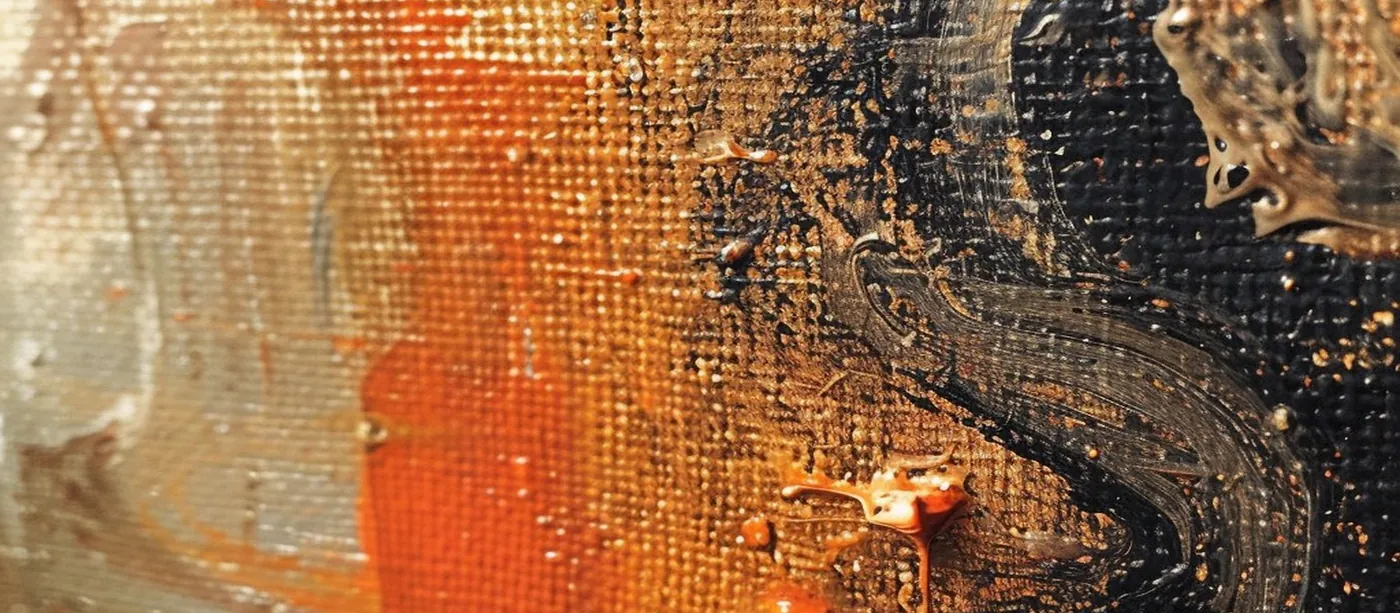
Techniques — layered paint and working process
03 · Marketing & selling

Find the right home for your work.

Fees and terms change — always double-check on the platform before you commit. Figures below are typical as of 2026.
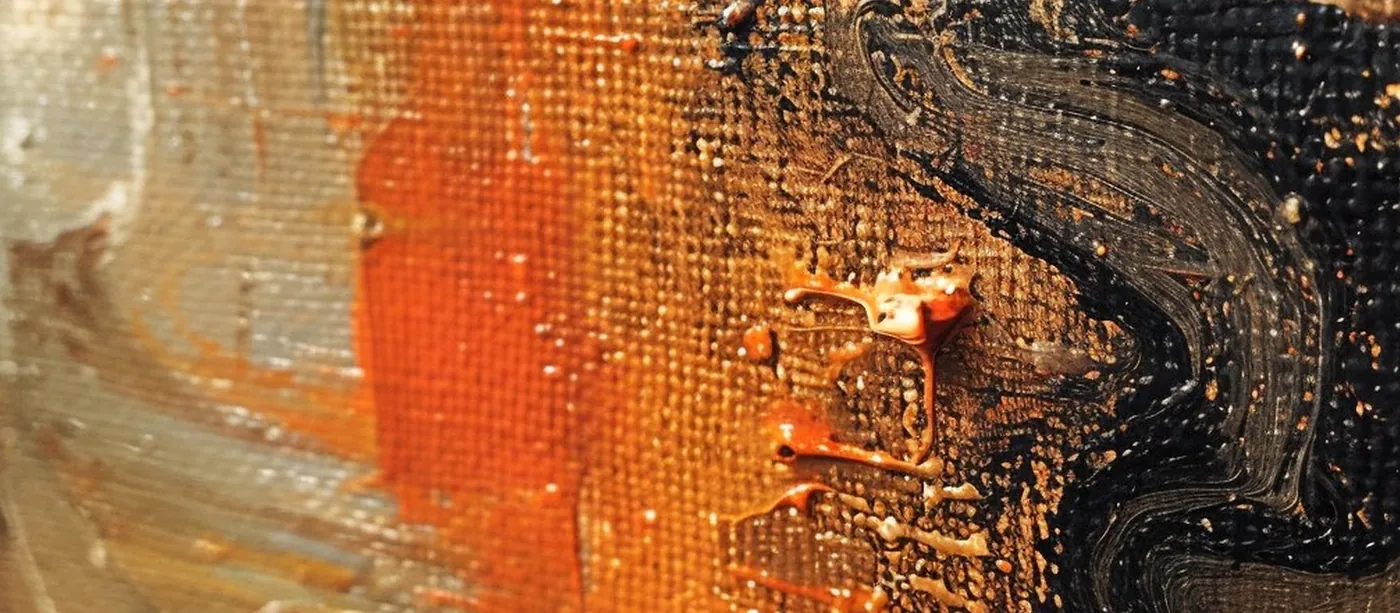
Marketing and selling artwork — presentation and promotion
Pricing calculator

What should you charge?

Two ways to price a piece — by the hour, or by size. Pick whichever fits how you work.

Suggested listing price
$0
so you actually take home your target
01 · Prep & supplies

Build the practice before the business.

The business side of being an artist — photographing, shipping, marketing and the legal basics — explained in plain language.
resources — The Working Artist
photography visual

Photographing your art so it actually sells

Good photos are the single biggest lever on whether a listing converts — collectors buy with their eyes first, long before they read a description.
Light
  • Diffused natural light wins. Shoot outdoors on a bright but overcast day, or indoors at a right angle to a window — never facing directly into it.
  • Bounce light into shadowed areas with a plain white card or sheet rather than using a harsh direct flash.
Angle & setup
  • Shoot dead square to the canvas — even a slight angle distorts the proportions and warps straight edges.
  • Use a tripod if you have one. If not, prop the piece securely and use your phone's grid overlay to line it up.
Avoid glare & distortion
  • Glossy varnish or resin catches reflections — rotate the piece slightly and check each shot before moving on.
  • Keep the camera still through the shutter press; a small shake blurs fine texture and brushwork.
Background & editing
  • A plain white or neutral backdrop (foam board or a pinned sheet) keeps focus on the work and crops cleanly.
  • Export as JPG or PNG in sRGB, around 1200px on the long edge for web — and edit brightness/contrast/saturation to match the piece in person, not how you wish it looked.
shipping visual

Shipping & packaging without the heartbreak

A great piece that arrives cracked is a refund, not a sale. Packaging well is worth the extra ten minutes.

What you'll need
  • Acid-free glassine paper, bubble wrap, foam board, cardboard corner protectors, packing tape, kraft paper, and a heavy-duty plastic bag.
The wrap, step by step
  • Wrap the piece in glassine paper first, folding edges away from the painted surface to avoid creasing it.
  • Fit cardboard corner protectors on all four corners — corners take the worst hits in transit.
  • Wrap in bubble wrap with the bubbles facing out, working from the corners inward.
  • Sandwich it between two pieces of foam board taped together, overhanging the edges by 2–3 inches.
  • Seal the whole bundle in a heavy-duty plastic bag to guard against moisture.
  • Box it — at least 6 inches larger than the foam sandwich in every dimension — and pack the gaps with kraft paper so nothing shifts.
  • Tape every seam in an H-pattern, then label it FRAGILE and THIS SIDE UP.
Insurance
  • Always declare the actual value. Standard courier coverage is often capped fairly low by default (commonly under $1,000) — buy separate insurance for anything worth more.
marketing visual

Marketing & growing an audience

Two channels do most of the work: an email list you actually own, and one social platform you enjoy using enough to stick with.

Build an email list
  • Social platforms can change their algorithm or disappear overnight — your email list is the one audience you fully own.
  • Give people a reason to sign up: early access to new pieces, behind-the-scenes process, subscriber-only pre-sales, or a private viewing room for new work.
  • One or two emails a month is plenty. Consistency beats frequency.
Use social media on purpose
  • Post consistently rather than constantly — a couple of times a week of real content beats daily filler.
  • Mix finished pieces with process shots and yourself in the studio; people follow people, not just product photos.
  • Use a handful of specific, niche hashtags plus a location tag instead of dozens of generic ones.
  • Reply to comments and DMs — it drives more reach than posting alone, and it's usually where sales conversations actually start.
  • Short process videos tend to reach further than static photos on most platforms right now.
taxes visual

Taxes & legal basics

General information only, not tax or legal advice — rules vary by country and change over time, so confirm specifics with a local accountant.

Hobby vs. business
  • Tax authorities generally look at profit motive: are you actively trying to sell, could you reasonably expect a profit, and do you keep proper records? A common rule of thumb (US) is showing a profit in three of the last five years.
  • Selling as a "hobby" doesn't get you out of reporting the income — it just changes which expenses you can deduct against it.
Reporting income
  • Report what you earn even if nobody sends you a form for it. In the US, platforms typically issue a 1099 once they've paid you over $600 in a year — but the income is taxable either way, form or no form.
Common deductions if run as a business
  • Materials and supplies, a home studio or rented space (proportionally, if shared), contractor costs (a photographer, framer, fabricator), advertising and website costs, art-related travel, and equipment depreciation are all commonly deductible categories — ask an accountant which apply to you.
One good habit
  • Open a separate bank account for art income and expenses from day one. It turns tax season into data entry instead of archaeology.
FAQ

Questions every new artist asks

THE LIBRARY IS GROWING

Go deeper.

Explore the first permanent learning hubs — practical, searchable guides designed to take you from materials to technique to your first sale.

01

Prep & Supplies

Studio, paint, brushes, surfaces and photography.

02

Techniques

Glazing, impasto, dry brush, underpainting and ideas.

03

Marketing & Selling

Pricing, platforms, Etsy, social media and shipping.